


Photo by Louis Reed on Unsplash
Revolutionize Your Life with This Mind-Blowing IoT Project You Can Build Today!
A Beginner-Friendly Guide to Creating Your Own IoT Projects


The Internet of Things (IoT) is an exciting area that is becoming increasingly popular among tech enthusiasts and computer science students alike. As a student in my second year of college, I decided to dive into the world of IoT and worked on several projects, including a robo car controlled via WiFi and a hand gesture-controlled robo car. In addition, I even created a heavy-duty, metal-bodied warrior car that can be used for robot wars.
In this blog post, I would like to provide a beginner-friendly introduction to IoT and some IoT projects that you can try out for yourself. We will discuss the basics of IoT, how it works, and provide a step-by-step guide to creating your own IoT project.
So, what is IoT? At its core, IoT is a network of interconnected devices that are embedded with sensors and software that allow them to communicate with each other and perform tasks. These devices can range from simple sensors to complex machines and can be controlled remotely using a smartphone, laptop, or tablet.
IoT devices are connected via the internet and can gather and analyze data, making them an essential component of smart homes, smart cities, and even the healthcare industry. With IoT devices, you can remotely control devices like lights, thermostats, and security systems.
The key to IoT is the sensors embedded within the devices. These sensors can detect changes in the environment and send that data to the cloud. The cloud then processes the data, making it available for analysis and decision-making.
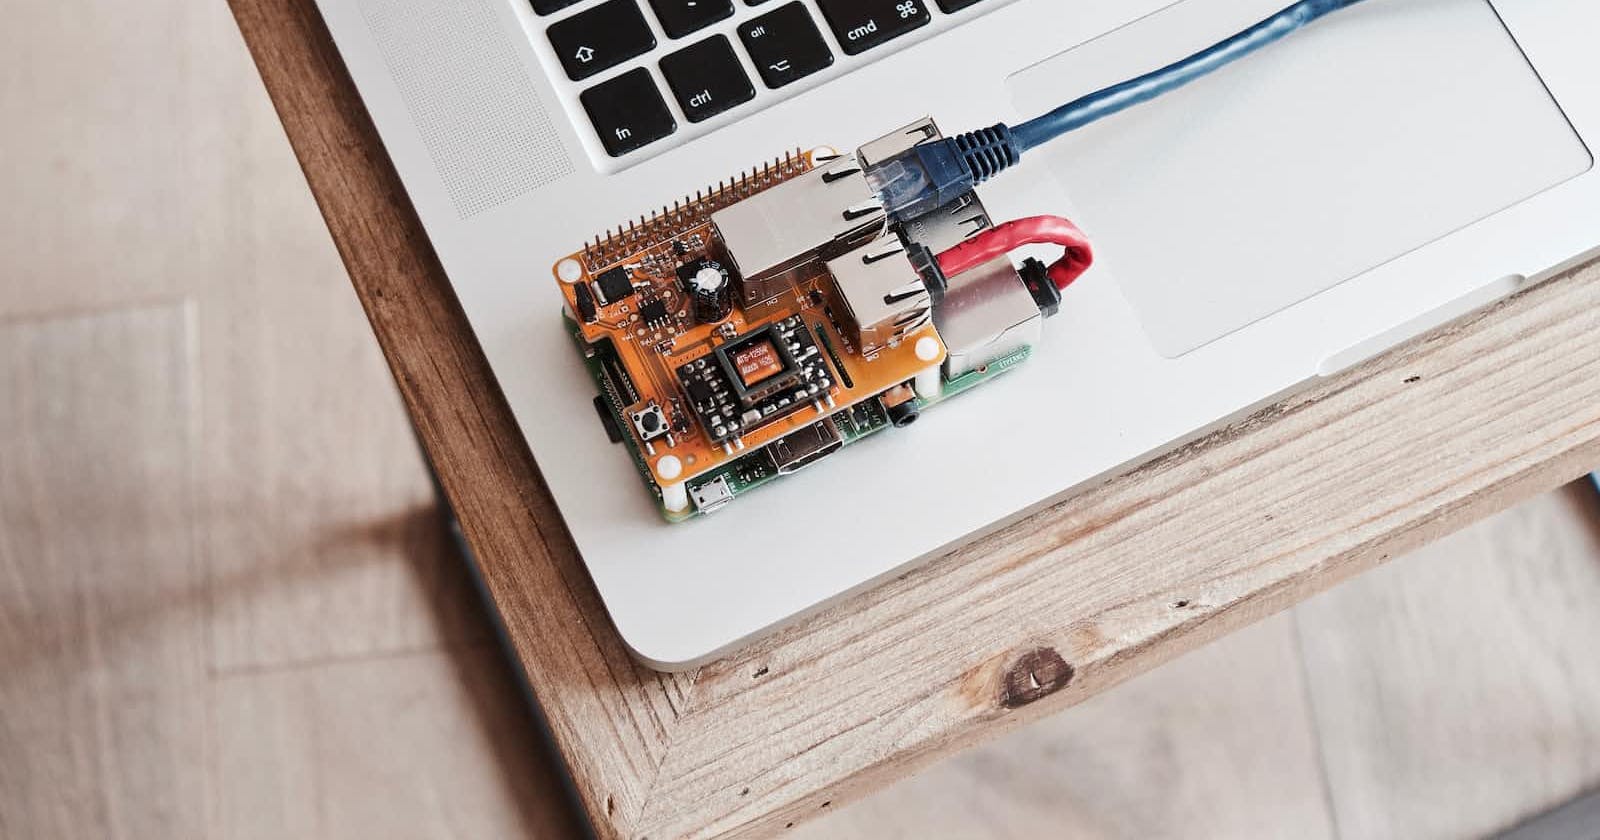
To build your own IoT project, you will need an IoT device, such as a Raspberry Pi or an Arduino board, along with sensors and software. You will also need to connect your device to the internet, so it can send and receive data.
Now, let's take a look at a beginner-friendly project that you can try out using an Arduino board:
Project: Smart Home Security System
For this project, you will need:
Arduino Uno board
Ultrasonic sensor
Buzzer
LED light
Breadboard
Jumper wires
USB cable
Here are the steps to create your own Smart Home Security System:
Step 1: Connect the Arduino Uno board to your computer using the USB cable.
Step 2: Connect the ultrasonic sensor to the breadboard and connect it to the Arduino board.
Step 3: Connect the buzzer and LED light to the breadboard and connect them to the Arduino board.

Step 4: Download the Arduino IDE and install it on your computer.
Step 5: Open the IDE and create a new sketch.
Before we begin writing our first code for Arduino, let's first gain some basic knowledge about the Arduino Programming Language.
The Arduino programming language is a simplified version of C++ that is used to program Arduino boards. It is designed to be beginner-friendly and easy to use, even for those with no prior programming experience.
The language consists of functions and commands that are used to control the various components of an Arduino board, such as the pins and sensors. Here is an example of a basic Arduino sketch that blinks an LED light:
void setup() {
  pinMode(13, OUTPUT);  // set pin 13 as output
}

void loop() {
  digitalWrite(13, HIGH); // turn on the LED
  delay(1000);            // wait for 1 second
  digitalWrite(13, LOW);  // turn off the LED
  delay(1000);            // wait for 1 second
}
This sketch sets up pin 13 as an output pin and then uses the digitalWrite function to turn the LED on and off in a loop, with a delay of 1 second between each change.
Step 6: Write the code for your smart home security system, which should include the following:
// Smart Home Security System code

const int trigPin = 2;
const int echoPin = 3;
const int buzzerPin = 4;
const int ledPin = 5;

long duration;
int distance;
boolean triggered = false;

void setup() {
  Serial.begin(9600);
  pinMode(trigPin, OUTPUT);
  pinMode(echoPin, INPUT);
  pinMode(buzzerPin, OUTPUT);
  pinMode(ledPin, OUTPUT);
}

void loop() {
  digitalWrite(trigPin, LOW);
  delayMicroseconds(2);

  digitalWrite(trigPin, HIGH);
  delayMicroseconds(10);
  digitalWrite(trigPin, LOW);

  duration = pulseIn(echoPin, HIGH);
  distance = duration * 0.034 / 2;

  Serial.print("Distance: ");
  Serial.print(distance);
  Serial.println(" cm");

  if (distance < 30 && !triggered) {
    triggered = true;
    digitalWrite(buzzerPin, HIGH);
    digitalWrite(ledPin, HIGH);
    sendAlert();
  }
}

void sendAlert() {
  // Code to send an alert to your smartphone when the system is triggered
}
Step 7: Upload the sketch to the Arduino board.
Step 8: Test the system by moving in front of the ultrasonic sensor. The buzzer and LED light should activate, and you should receive an alert on your smartphone.